Flashing is a key part of the LP® SmartSide® Trim & Siding installation process, helping to protect homes from the elements by helping to prevent moisture intrusion. When you are installing lap siding, incorrectly installed flashing may lead to moisture issues that can affect other aspects of the home in addition to the siding.
We talked with Isaac Ojeda, Sr., Construction Service Associate at LP Building Solutions, to learn how to install flashing under siding and about some flashing and siding installation mistakes. Follow these tips for installing flashing and to help your builds stand strong for years to come.
What Tools Are Needed to Install Flashing Under Siding?
Flashing can be installed alongside engineered wood lap siding using the following tools and materials:
Metal flashing pieces or coil stock
Flashing tape
Shears
A hand seamer (a siding brake is optional)
“Some pieces of flashing, like Z-flashing, can be purchased off the shelf in certain measurements,”
Ojeda adds. He notes that while LP SmartSide siding installation instructions require Z-flashing to have a 4-inch upper leg, stock flashing may not always meet that requirement. If this is the case, supplement the stock Z-flashing with flashing tape to create the 4-inch upper leg.
4 Steps to Install Flashing Under Siding
Follow this simple step-by-step process for installing lap siding with pan flashing at butt joints. This installation process is approved for LP SmartSide ExpertFinish prefinished siding only. Ensure the ends of the siding are factory finished for this flashing method. Here’s how to install flashing under siding:
Cut a piece of flashing a minimum of four inches (102 mm) wide.
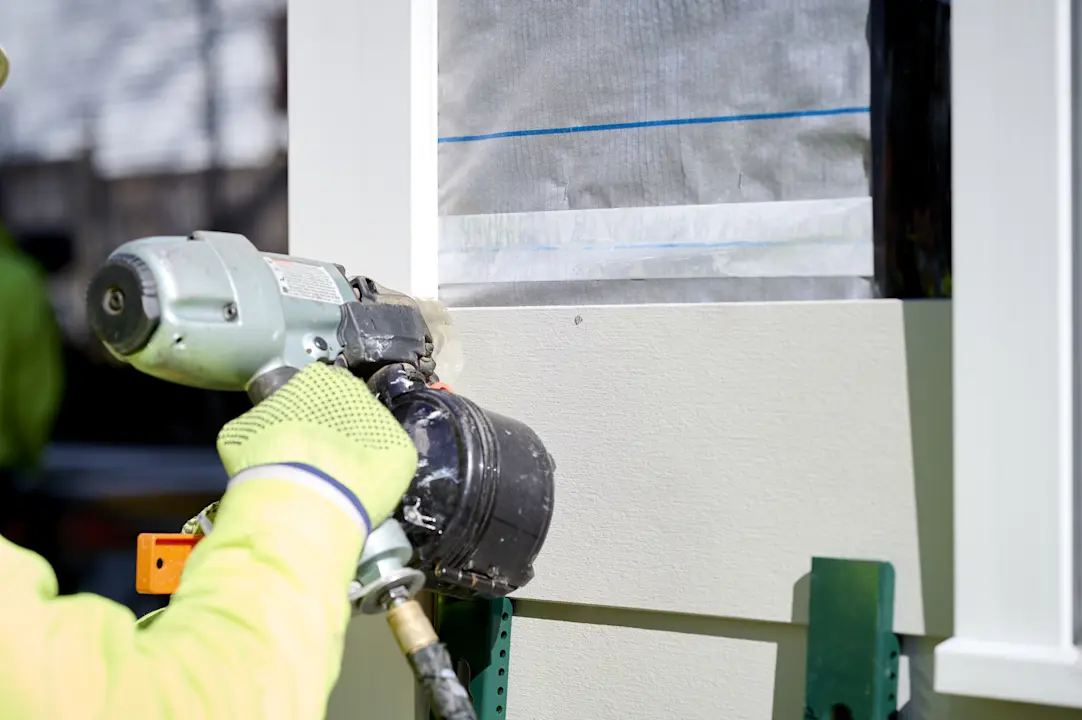
Install the piece of lap siding, following one of the recommended nailing methods. Nail the siding, stopping before placing the final nail at the end.
Slide half of the piece of pan flashing, oriented vertically, under the end of the siding. Make sure the bottom of the flashing does not emerge at the bottom of the lap siding.
Secure the flashing and the siding by fastening them to the structure. Continue nailing the lap siding to cover the remaining exposed piece of flashing. Be sure to leave a 3/16-inch gap between pieces of siding.
Does Flashing Go Under Siding?
In many cases, professionals install flashing under siding in areas such as butt joints to help provide weather protection for the building envelope. The video above shows flashing in between the butt joints, then demonstrates a tip on running the cut edge of your siding into the trim and leaving the factory edge at the butt joint with the pan flashing behind it. “The purpose of metal flashing behind the butt joint is to help protect against water intrusion and to help protect the housewrap from UV degradation,” Ojeda says.
Another form of flashing under siding is Z-flashing. Z-flashing is required over horizontal wood trim pieces, typically seen above doors or windows as well as decorative trim bands.
Step flashing is used where a roof and wall intersect. It’s installed behind the siding and underneath the roofing material. “It covers the seam where those two building elements meet,” Ojeda says. It channels water downward to the kick-out flashing, which is intended to help manage water coming off step flashing. It is important to always maintain a minimum 1-inch clearance between the siding and roofing at this location.
Learn How to Install Flashing Under Existing Siding From Our Experts
Let’s join Kyle Stumpenhorst, owner and contractor at RR Buildings, on the jobsite for a quick tip on installing Z-flashing over band trim. Learn how to avoid a common flashing under siding installation mistake!
How to Avoid Common Flashing Under Siding Mistakes
Closing the Gap: Installers can provide flashing but mistakenly rest the siding on top of the flashing, which can prevent moisture from escaping. Remember to provide a 3/8-inch gap between the flashing and the bottom edge of the siding. Here’s a quick tip: If you are installing LP SmartSide 38 series lap siding, you can use a scrap piece of the siding to create the proper gap (38 series lap siding is approximately 3/8-inch thick).
Caulking the Gap: Installers sometimes go back and caulk the 3/8-inch gap between the flashing and the siding, which defeats its purpose. Be sure to leave the gap so moisture that collects behind the siding can escape.
Flashing’s Slope: Flashing may sometimes get bent and slope towards the wall as a result of the installation process. Instead, make sure it slopes away from the wall for proper moisture management.
Find the Right Flashing for Your Build
For every part of the installation process for flashing under siding, whether it be step flashing, roof flashing or otherwise, be sure to refer back to the LP SmartSide siding installation instructions. When it is installed correctly, your LP SmartSide products will be backed by the LP SmartSide Prorated Limited Warranty. Check out our trim and siding product page to explore our variety of timeless, durable LP SmartSide offerings.