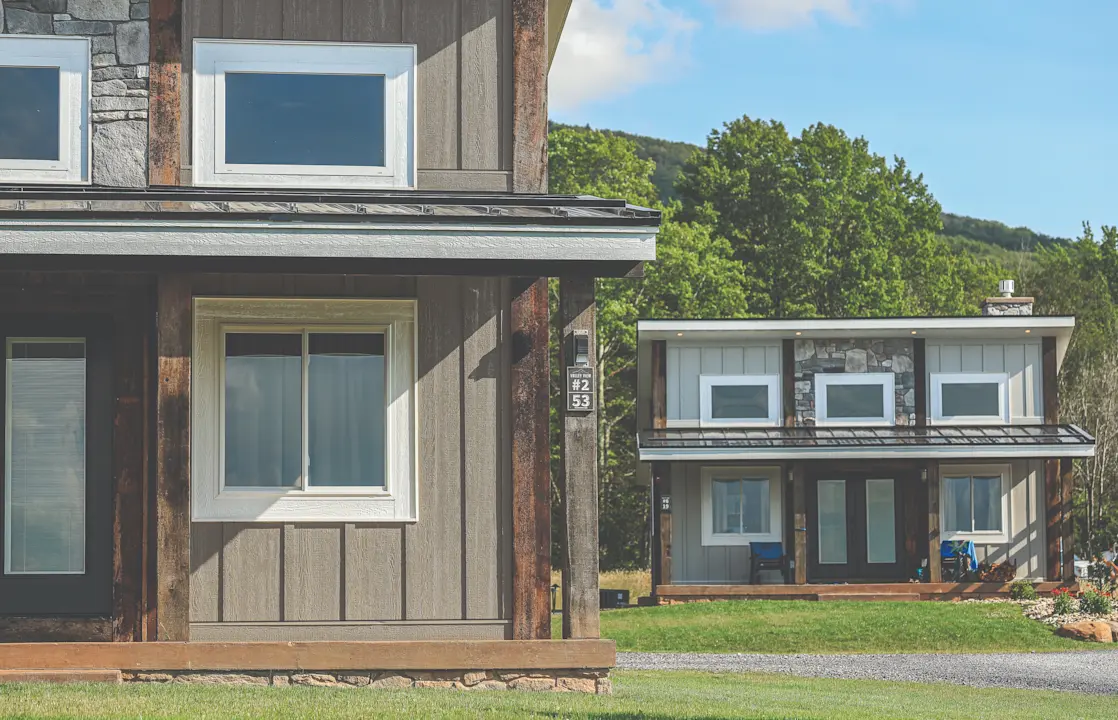
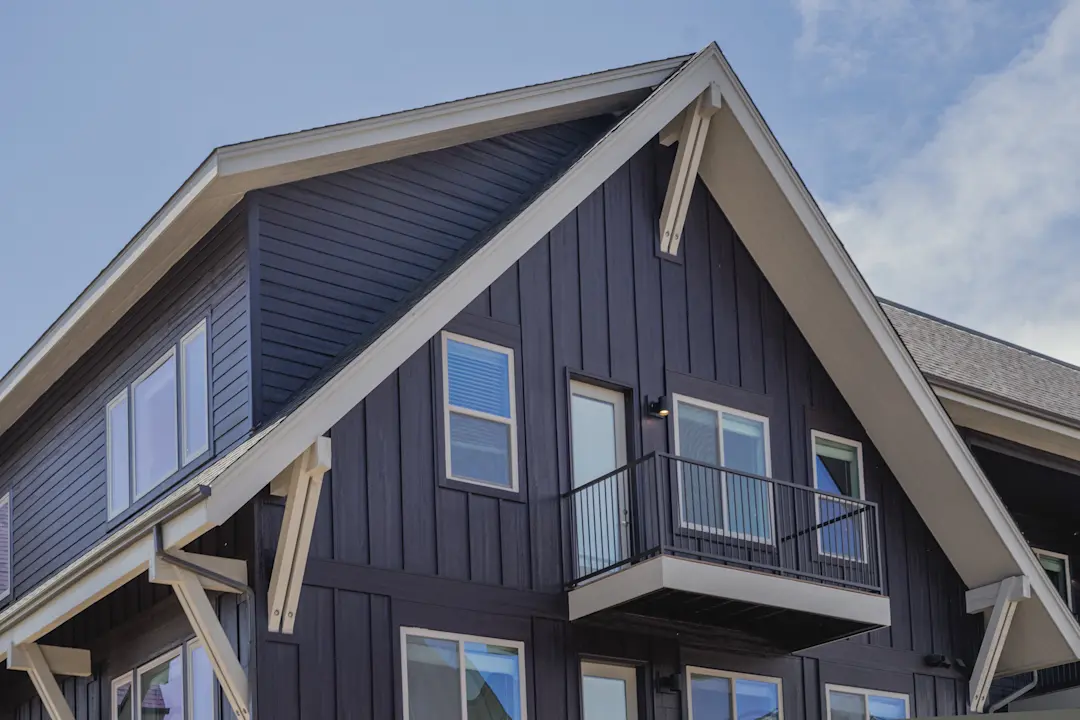
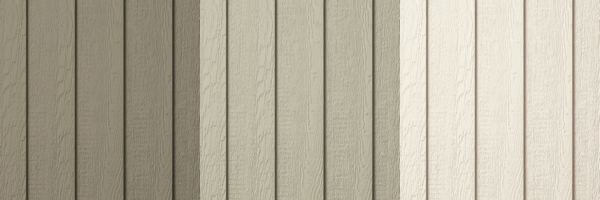
New trends in house siding often go beyond different styles and siding color ideas. Many of your clients will be interested in how to create curb appeal, and that’s where gable siding comes in. With endless design variations, gable end siding can help your clients elevate their home’s exterior and boost curb appeal with LP® SmartSide® ExpertFinish® colors and the Naturals CollectionTM colors.
We spoke with Kyle Stumpenhorst, contractor and owner at Rural Renovators, to discuss a few gable end siding options, as well as how LP® SmartSide® Trim & Siding products make installing siding on gable ends easy and efficient.
How Do You Dress Up a Gable?
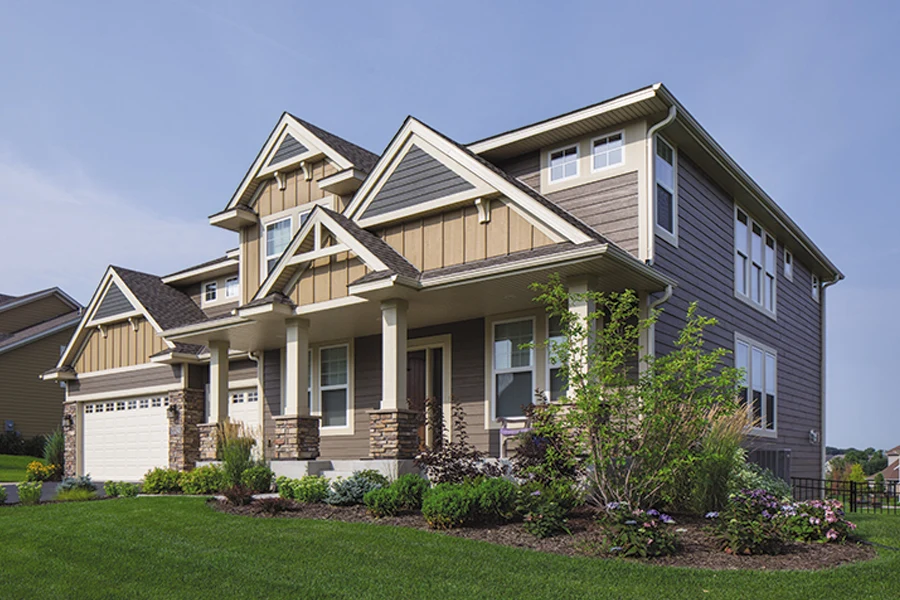
“The options are really limitless,” Stumpenhorst says, when it comes to decorative gable siding. “I always like to switch up gable ends; whatever the type of siding you are using on the majority of the house, try to change it up for the gable ends.” Overall, introducing a change in the lines of the home draws the eye in and shifts focus around the exterior of the home.
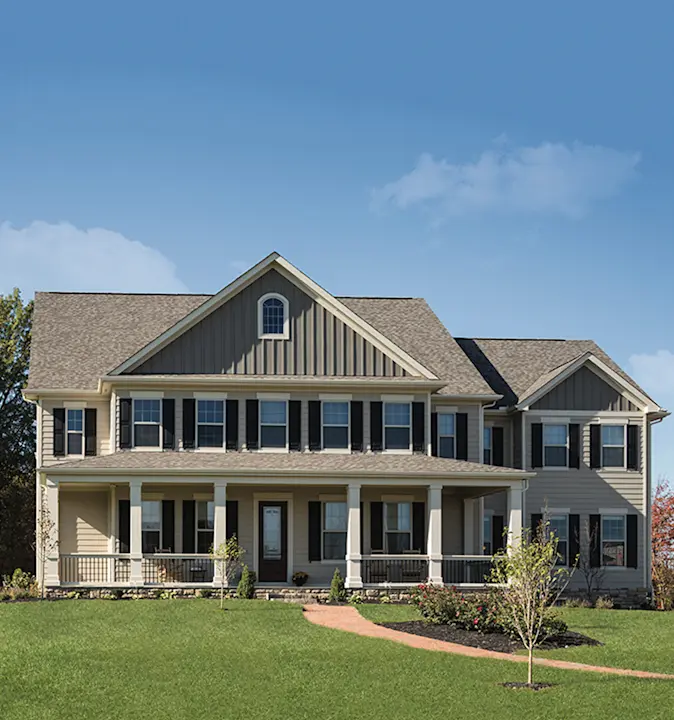
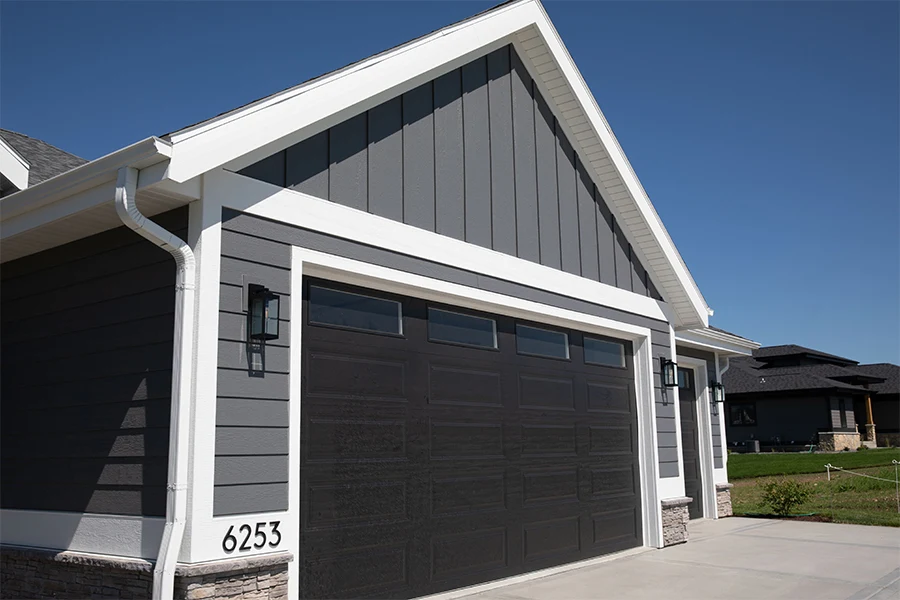
Stumpenhorst offered a couple of gable end siding ideas: if you’re using horizontal siding for the rest of the home, use vertical siding on the gables. If you’ve used exterior panel siding, use a smaller, more detailed siding, such as cedar shake siding, on the gable. “Other materials, such as stone, also make good options to make a gable stand out,” he adds.
Check out the homes below for more gable siding ideas and inspiration for your next siding project.
How to Side a Gable End
“Installing siding on a gable end is not much different than siding the rest of the project,” Stumpenhorst says, “except the cuts will switch from square to angled due to the roof pitch.” Here are a few basic steps and siding tips for installing gable ends. Be sure to check out the full LP SmartSide Trim & Siding installation instructions for all the details.
Step 1: Establish the roof pitch. Stumpenhorst recommends knowing the correct roof pitch for your installation, which will make it much easier and will help you keep your siding level throughout the installation.
Step 2: Follow the installation instructions. Depending on which type of LP SmartSide siding you are using, install according to the manufacturer’s instructions with the standard LP SmartSide installation tools.
Step 3: Check your work often. “Make sure to stand back and look at your work often to ensure it is to your standard,” Stumpenhorst adds. “Don't quickly install siding on a gable only to turn around at the end of the day and not like the way something looks.”
Step 4: Be mindful of waste. Your cut-offs could be usable, according to Stumpenhorst. “Try to incorporate them into your job to reduce waste,” he suggests.
Using LP SmartSide products to install siding on gable ends (or for replacing gable siding) helps make your installation process simple and efficient. “Typically, the longer 16-foot lengths of LP SmartSide siding mean fewer joints and a quicker installation,” Stumpenhorst mentions. “Its durability also makes it easier to handle in potentially awkward positions as you work on the gable.”
The strength of the product not only makes it a great solution for your clients down the road, but it also offers resiliency on the jobsite, helping reduce waste. LP SmartSide products can be cut several pieces at a time, can be carried by one installer and are manufactured with the LP® SmartGuard® Process, which adds strength and helps to guard against moisture. Additionally, LP products are backed by industry-leading limited warranties to give you—and your clients—peace of mind.
Learn more about engineered wood siding and how it will enhance the durability and aesthetics of your build today.


