While LP® SmartSide® products install easily, there are a few pro tips that can make the installation process even smoother. Whether you’re a new or longtime LP SmartSide Trim & Siding user, here are a few installation tips from professional contractor Kyle Stumpenhorst of @rrbuildings for a more efficient jobsite:
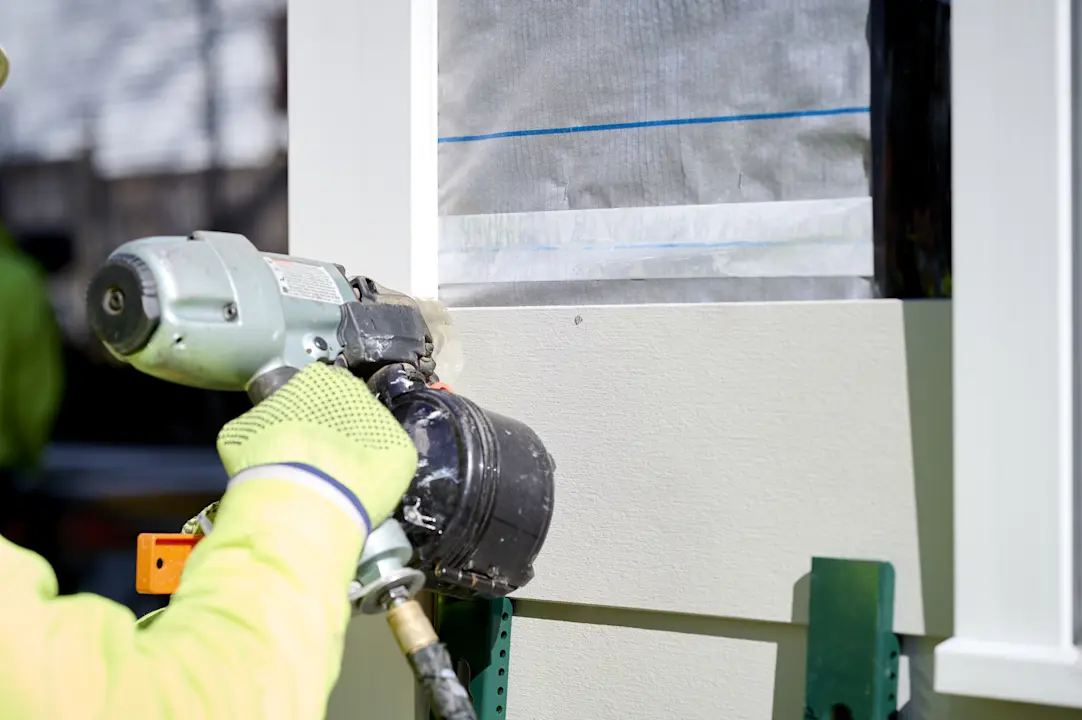
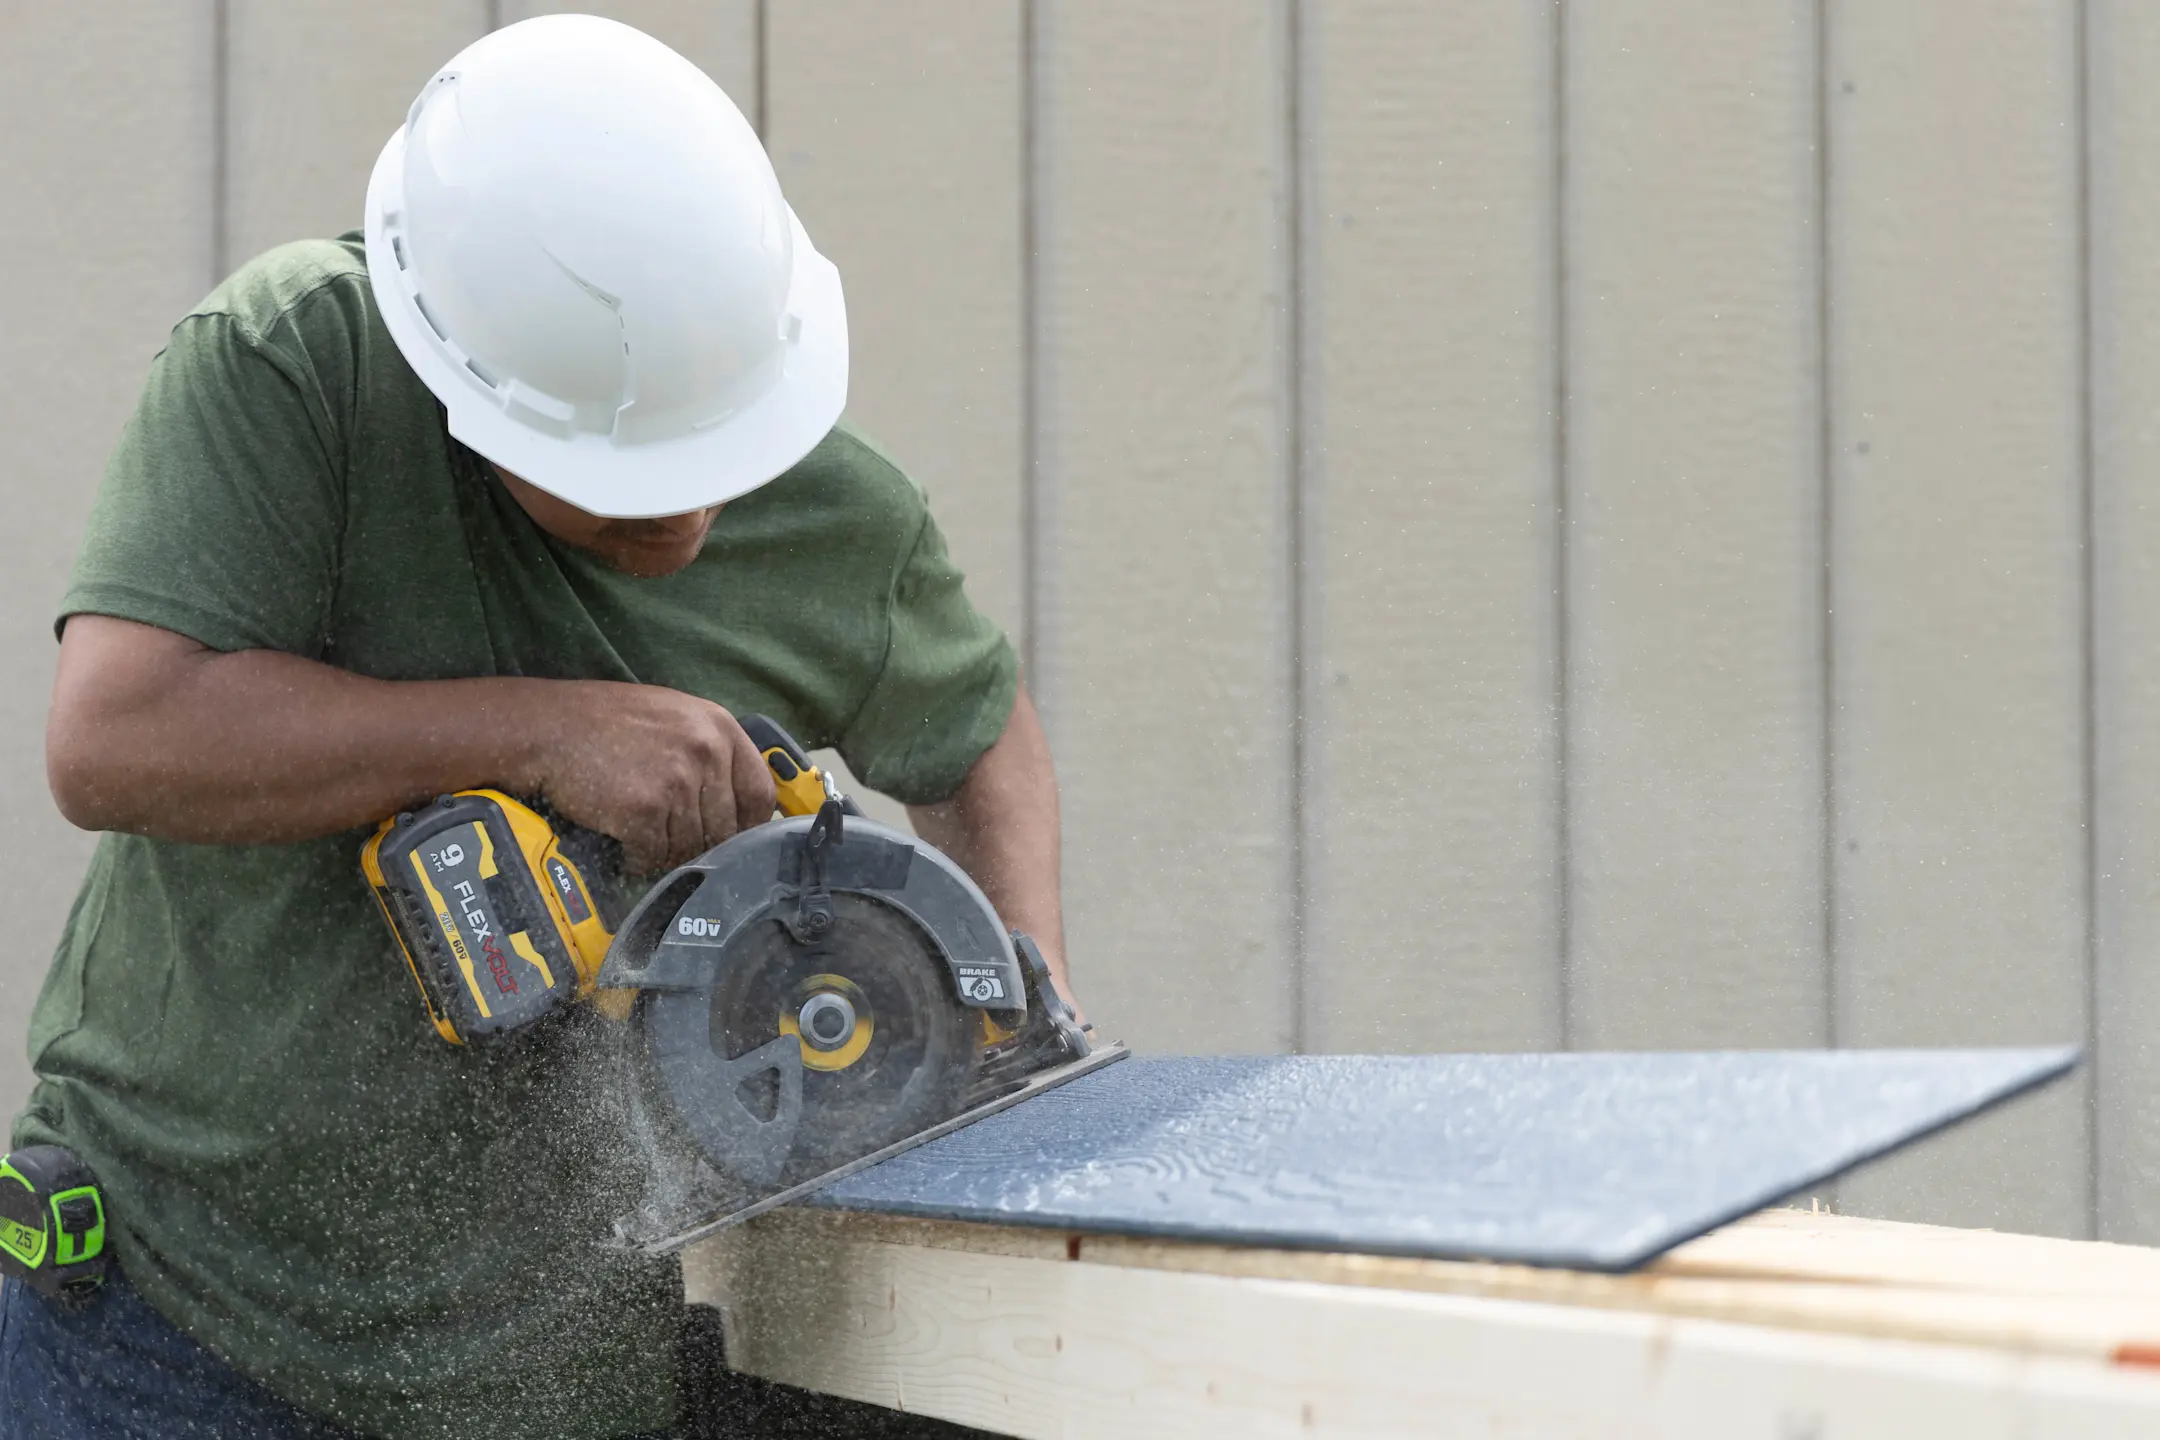
Pro Tip 1 – Buy Common Cutting & Framing Tools: One of the beauties of working with LP SmartSide products is that you can use common woodworking tools to cut/frame them, which drastically cuts down on overall installation costs. If you’re a first-time user, pick up standard wood saws and framing tools.
Pro Tip 2 – Tackle Different Areas at Once: If you don’t run a large crew it can usually be a one-man job, allowing a couple of contractors to work on different areas. Recalling his experience, Kyle says, “Even with two windows cut out on a long piece, it is still no issue to install and handle with one person. Why should this matter you may ask? For me, I don’t run a large crew. This means LP SmartSide siding works well because multiple people can tackle multiple areas if need be.”
Pro Tip 3 – Gang-Cut to Save Time: Another benefit of LP SmartSide products is the ability to cleanly gang-cut. In fact, Kyle says, “A tip I always recommend to save time is to gang-cut whenever you can. The durability of engineered wood makes it easy to cut 5 pieces at a time with a traditional table saw. The time savings add up.”
Pro Tip 4 – Paint Exposed Edges, Not the Backside: For LP SmartSide siding products and painting the exposed edges with acrylic paint is a must. However, don’t spend time painting the backside. It should be left unpainted and still be protected thanks to the LP® SmartGuard® process.
Pro Tip 5 – Leave a Gap: Finally, ensure you leave a 3/16-inch gap at all butt joints. This may seem like a significant amount, but engineered wood has low moisture content and it will expand. Make sure to include the gap between horizontal sections and where the siding meets doors, windows and corner trim.
For more pro tips on installing LP SmartSide products with more efficiency and quickness, check out #LPQuickTip or @lp_pros. Have a specific question? Tag us or shoot us a DM!