If not discovered quickly enough, a slow leak caused by a faulty dishwasher, ice maker, shower or another appliance will require extensive repairs and possibly the need to replace water-damaged subflooring.
As a professional, you know it’s a big project to get called to a home to fix sections of water-damaged subfloor or replace the entire floor due to water damage. Either way, it’s disruptive to the family and needs to be addressed as soon as possible.
Q. How do I know if my subfloor is rotten?
A. It’s difficult to assess if the subfloor is rotting until carpets or tile are pulled back and an inspection is conducted. However, if the subfloor feels spongy and sags when walking across the floor, this could be a sign of a rotted subfloor.
4 Steps to Repair Water-Damaged Subfloor
If it’s determined the partial or full replacement of subflooring is needed, here are 4 steps for fixing water-damaged subflooring
1. Stop the Water
If water damage was caused by a leaking appliance, the source of the water has to be resolved before taking any steps toward fixing the floor. Whatever the initial cause, make sure the source of the leak has been identified and repaired.
2. Expose the Subfloor and Examine
Start by removing the baseboards in the room and pulling back the carpeting or removing the hardwood floors. If the room or house has another type of floor covering, like vinyl, you may be able to cut out sections over the water-damaged subfloor in some cases.
If the subfloor has become rotted or is spongy in any way, it will need to be removed. However, if the subflooring appears strong and solid but simply wet, ventilate the area and allow time for the subfloor to dry. It all depends on the amount of time the water was left to saturate the subflooring. If it were a burst pipe and the homeowner quickly shut off the water source and vacuumed up the water, the integrity of the subflooring may be okay.
3. Remove Damaged Subflooring
If it has been determined that the subfloor is damaged, it must be cut out and removed. Floor joists may also be damaged and may have to be removed and replaced, based on the extent of the damage. A design professional should be consulted in the event that the floor framing has damage that would require replacement.
During the removal process, be certain to get all of the rotted wood out to avoid the spread of mold that may not be visible in the new wood.
Pro Tip: Watch builders Jordan Smith and Kyle Stumpenhorst install LP Legacy® Premium Sub-Flooring.
4. Install New Subflooring
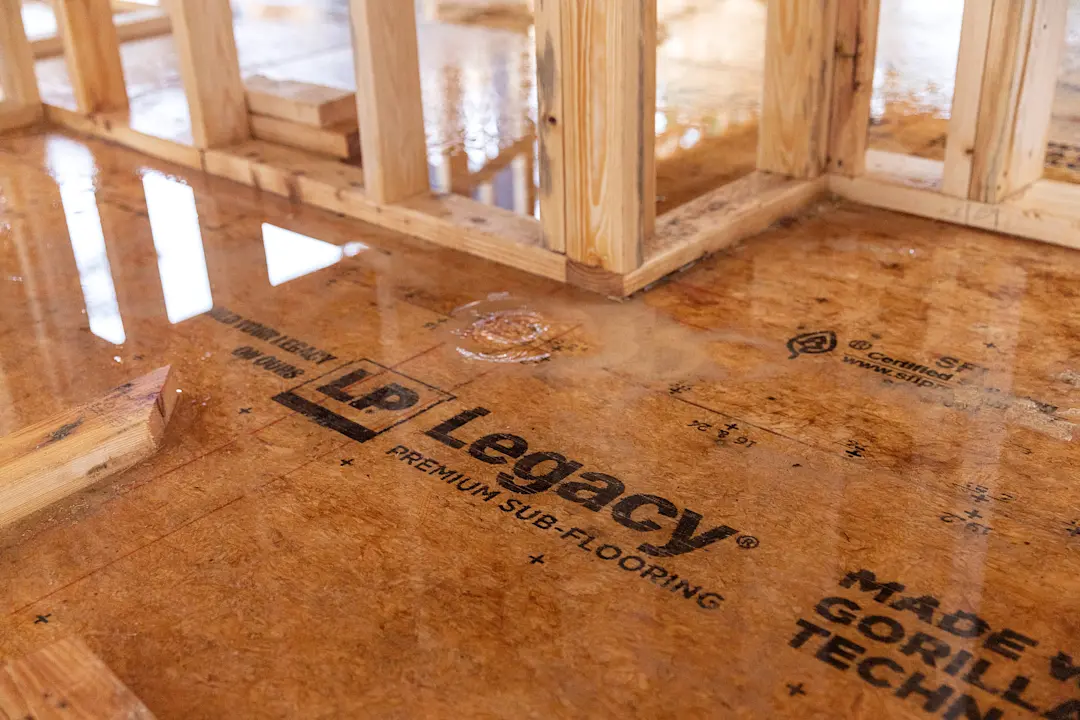
After reinforcing or replacing any damaged floor joists, measure and cut the new subflooring. When replacing with LP Legacy Premium Sub-Flooring, use the LP Legacy Premium Sub-Floor Adhesive to help increase the subfloor’s stability and strength and to help prevent squeaks.
Leave a 1/8˝ gap between old and new subflooring. Use appropriate nails to fasten down the new subflooring and drive all perimeter fasteners 3/8˝ back from the panel edges.
LP Legacy® Premium Sub-Flooring Limited Warranty
LP Legacy panels are backed by a unique warranty that leads the industry and covers LP Legacy panels during the time it takes to complete your build and long after. With the exception of some marine-type treated products, there aren’t any typical subfloor panels on the market that are intended for long-term water resistance. When installing LP Legacy Premium Sub-Flooring, do your best to avoid making mistakes to keep the limited warranty intact. For complete LP Legacy limited warranty information, visit https://lpcorp.com/products/panels-sheathing/premium-sub-flooring/warranty.
With the right methods and products, water-damaged subflooring can be effectively repaired and replaced. Find out how to best Defend Your Build® against almost anything with LP® Structural Solutions products.